Baking can feel like magic: from flour, eggs and sugar you suddenly get a fluffy sponge or a fragrant bun. In reality there is no magic — only chemistry, physics and a handful of core techniques that repeat in almost every recipe. Once you master them, you stop blindly following instructions and start to understand why the dough behaves the way it does.
This article is for anyone just approaching the oven. We will cover four fundamental skills: whipping eggs with sugar, mixing and kneading dough, working with yeast, and controlling temperature with a scale. At the end we will round up the most common beginner mistakes so you can avoid repeating them.
The good news: you don't need an expensive mixer or fifteen kinds of flour to start. You need precision, a little patience and an understanding of the process. Let's take it step by step.
Whipping Eggs With Sugar: The Heart of Sponge Cakes
Eggs whipped with sugar are the foundation of classic sponge cakes, pound cakes and many airy tortes. As you whip, the whites and yolks trap air and form a stable foam. Those air bubbles expand in the heat of the oven and lift the batter — often with no baking soda or powder at all.
There are two main approaches. In the first, whole eggs are whipped with sugar into a pale, thick, voluminous mass — it should roughly triple in volume and leave a visible trail off the whisk (this is called the "ribbon stage"). In the second, you separate the whites and yolks: whip the whites to stiff peaks, beat the yolks with sugar, then gently fold the two together.
A few rules that save your nerves:
- Eggs whip best at room temperature — take them out of the fridge ahead of time.
- For whipping whites, the bowl and whisk must be perfectly clean and dry: even a drop of fat or yolk will stop the foam from rising.
- Add the sugar gradually in a thin stream rather than all at once, so it dissolves better.
- Don't overmix the finished foam — the air deflates. Fold in the flour with a spatula using bottom-to-top motions.
Whipping technique is exactly what carries, for example, the tender sponge for the Minecraft Cake: if the eggs are whipped properly, the layer turns out tall and airy even for a beginner.
Mixing and Kneading Dough
Mixing means combining ingredients into a uniform mass, while kneading is the next stage, where you work the dough by hand or with a dough hook to develop the gluten. Gluten is a network of wheat-flour proteins that gives dough its springiness and elasticity and traps gas inside.
It's important to understand the difference between dough types here.
Yeast and Bread Dough
This dough is kneaded long and vigorously — 8 to 15 minutes by hand — so the gluten develops fully. Finished dough becomes smooth, elastic and stops sticking to your hands; if you stretch a piece, it forms a thin, semi-transparent film that doesn't tear immediately. This is the famous "windowpane test."
Shortcrust and Sponge Dough
With these it's the opposite: the less you work them, the better. Excess gluten makes shortbread tough and sponge rubbery. Shortcrust dough is quickly gathered into a ball and chilled right away, while sponge batter is folded gently with a spatula, not stirred.
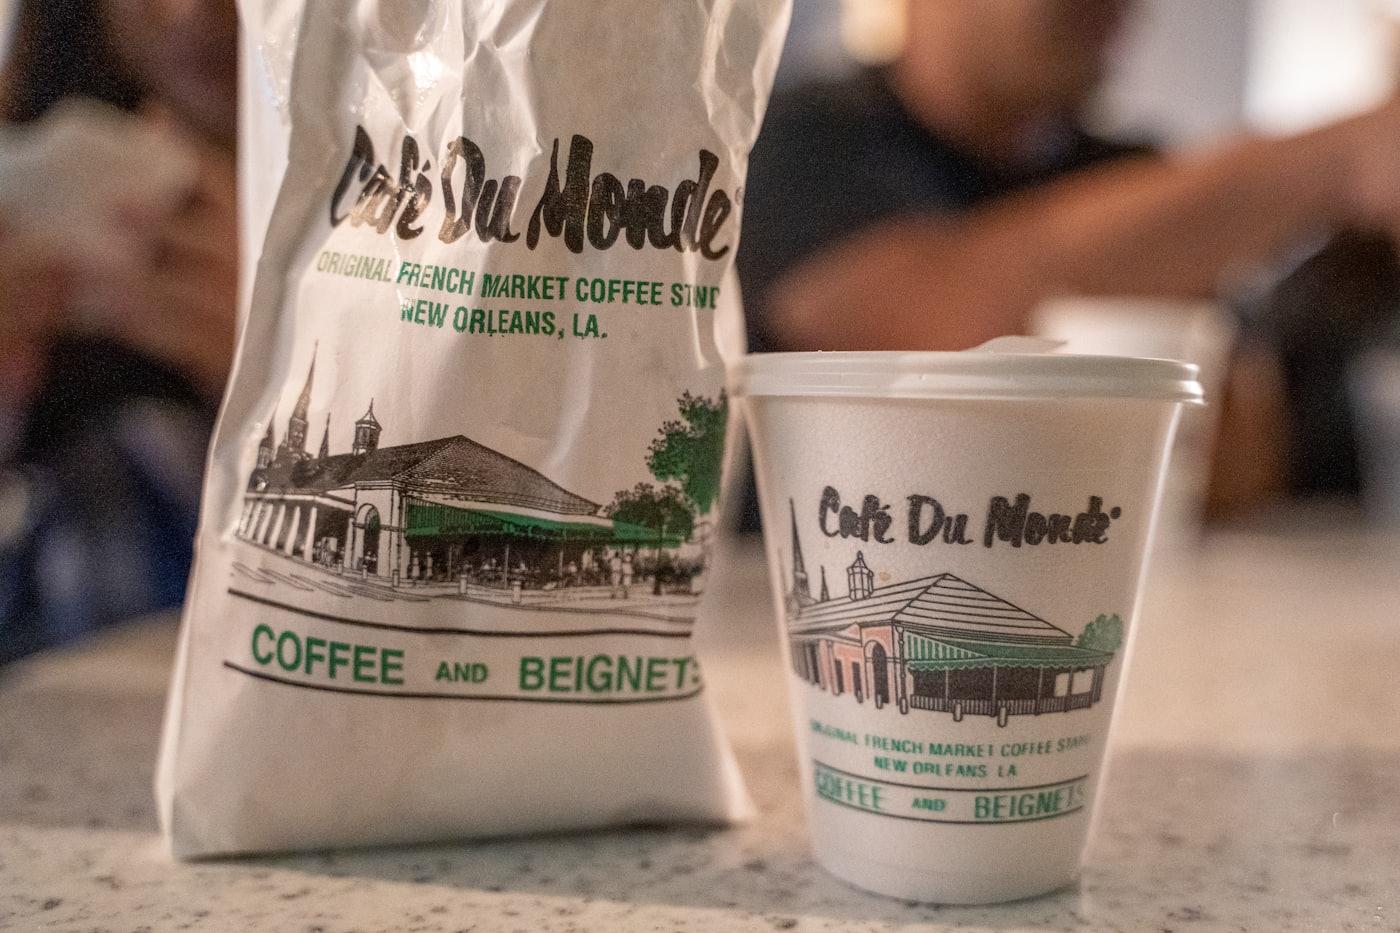
This contrast is easy to feel in the rich yeast dough for Tiana's Beignets from The Princess and the Frog — those square New Orleans doughnuts dusted with powdered sugar. The dough there needs to be kneaded until smooth so the inside develops an airy, open structure.
Yeast: Activation and Proofing
Yeast is a living microorganism that feeds on sugars and releases carbon dioxide. That gas is what lifts the dough and creates an open crumb. Working with yeast scares beginners, but it actually follows simple rules.
First, activation. It helps to "wake up" dry active yeast before use: dissolve it in warm liquid (around 35–40°C / 95–105°F) with a pinch of sugar and let it sit for 5–10 minutes. If a foamy cap appears, the yeast is alive and working. Instant (fast-acting) yeast can be added straight to the flour without soaking. Fresh compressed yeast, on the other hand, should always be dissolved in warm liquid.
The main enemy of yeast is high heat. Liquid hotter than 50–55°C (about 125°F) kills it, and the dough won't rise. Liquid that's too cold, by contrast, slows the process down. Salt and large amounts of sugar also suppress yeast, which is why recipes often add them in measured doses.
After mixing comes proofing — the time when the dough rests in a warm spot and grows in volume. Dough is usually proofed in two stages: a first rise after kneading (the dough should roughly double) and a second rise after shaping. Ideal conditions are a warm, draft-free place around 26–30°C (about 80–85°F), with the bowl covered by plastic wrap or a towel so the surface doesn't dry out.
Don't rush proofing: under-proofed dough gives a dense crumb, while over-proofed dough can collapse in the oven. Dough is ready when a light press with your finger leaves a dent that slowly springs back.
Temperature and Accurate Scales: Why Grams Decide
While everyday cooking allows you to improvise by eye, baking is an exact science. The ratios of flour, liquid, sugar and leavening interact with one another, and a small deviation changes the result.
Why a kitchen scale is worth buying:
- A cup of flour weighs differently for different people — anywhere from 120 to 160 grams depending on how tightly it was packed. That's a huge difference.
- Scales let you reliably repeat a successful recipe and figure out what went wrong in a failed one.
- In professional and tested recipes, ingredients are almost always given in grams rather than cups and spoons.
Temperature matters at every stage. Butter for shortcrust dough should be cold so the dough stays crumbly; for creams and enriched dough it should be soft and at room temperature. Room-temperature eggs whip better and blend more evenly into the batter. And always preheat the oven: if you put your bake into an under-heated oven, the dough will sink before the crust sets.
A note on the oven itself: home appliances often lie by 10–30 degrees. An inexpensive oven thermometer will reveal the real temperature and save many a tray. For instance, the neat Homer's Pink Donut from The Simpsons needs steady heat — otherwise they either stay raw inside or burn on the outside.
Common Beginner Mistakes
Even with a good recipe it's easy to stumble. Here are the mistakes that come up most often:
- Opening the oven too early. In the first 15–20 minutes a temperature drop makes sponges and soufflés collapse. Be patient and peek through the glass.
- Not sifting the flour. Sifting aerates the flour and removes lumps — the batter comes out more uniform.
- Overmixing sponge batter. The air escapes and the layer turns out flat and dense.
- Ignoring ingredient temperature. Cold eggs and butter straight from the fridge often ruin a recipe.
- Changing the recipe on the fly. Swapping sugar, flour or liquid changes the chemistry. Bake the original first, then experiment.
- Rushing the cooling. Many bakes (especially sponges and cheesecakes) need to cool completely before slicing — otherwise they squash or run.
Conclusion
Baking is a skill built from a few simple but precise techniques. Learn to whip eggs with sugar correctly, understand the difference between gentle and vigorous kneading, make friends with yeast, and trust your scale and thermometer — and most recipes will stop intimidating you.
Don't expect perfection on the first try: even seasoned pastry chefs once baked flat sponges and dense bread. The best way to lock in theory is practice. Pick a simple, clear recipe, bake it strictly to the letter, then analyze the result. Very soon the oven will become your ally rather than a source of stress.